
1
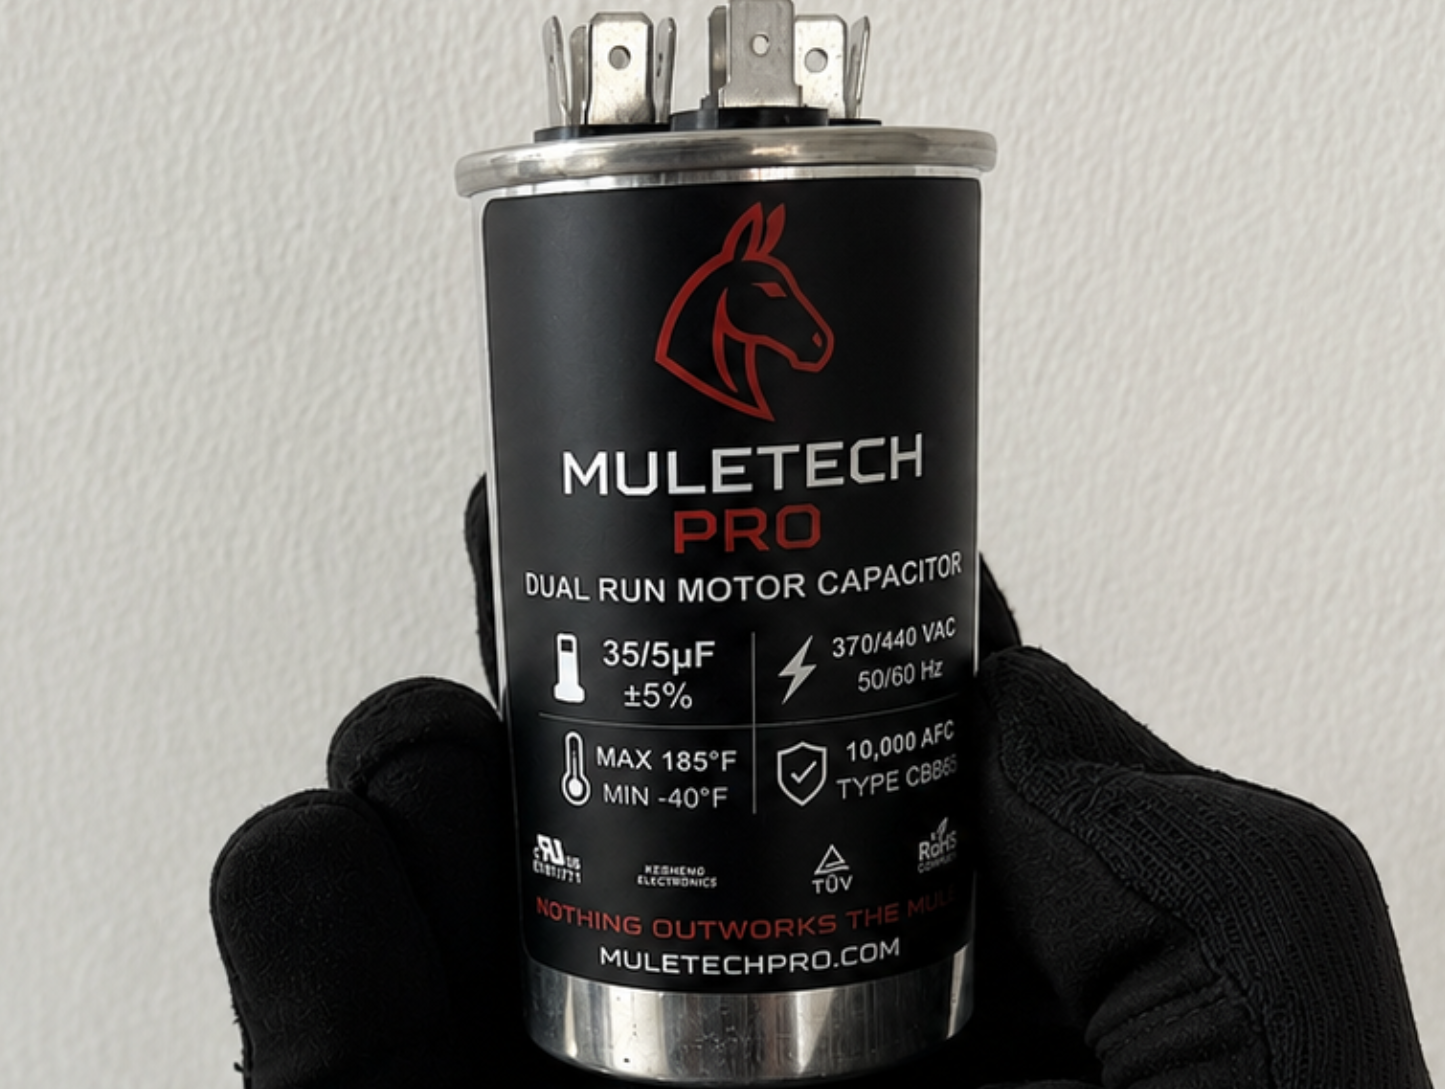
Check the size and rating.
Before you touch anything, confirm your new capacitor's MFD and voltage rating match your old one exactly, and that the case fits your existing mounting bracket.
2
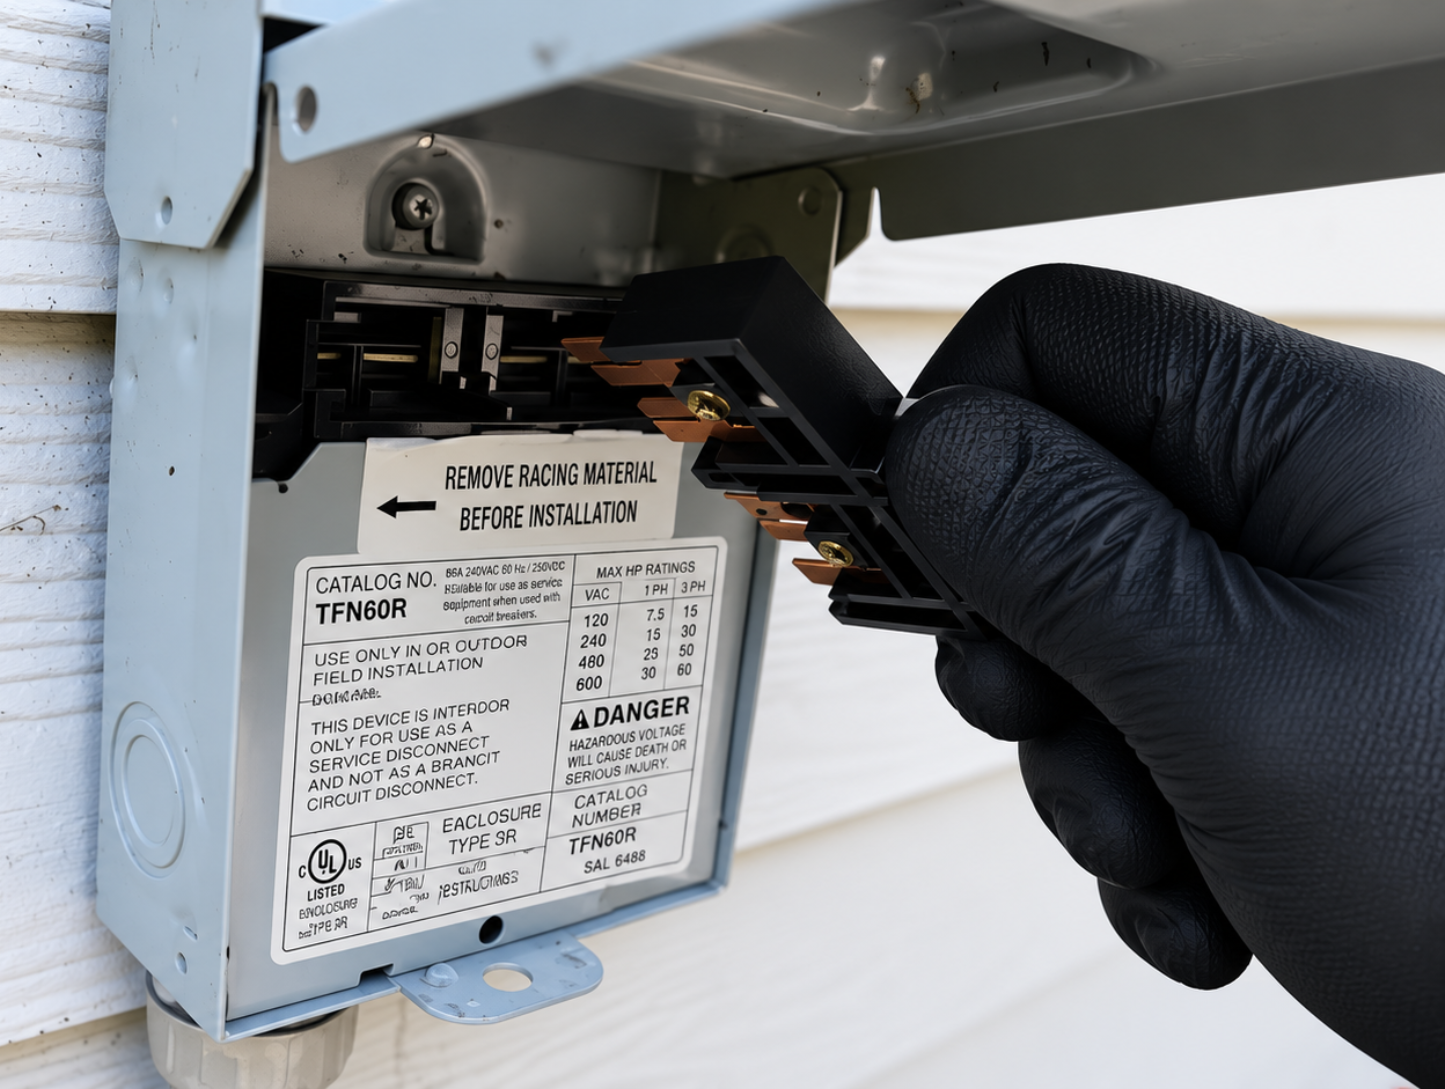
Cut all power
At the thermostat, turn the system off and set the fan to AUTO. Then go outside and pull the disconnect block (or unplug the unit), setting it somewhere visible like on top of the unit.
3
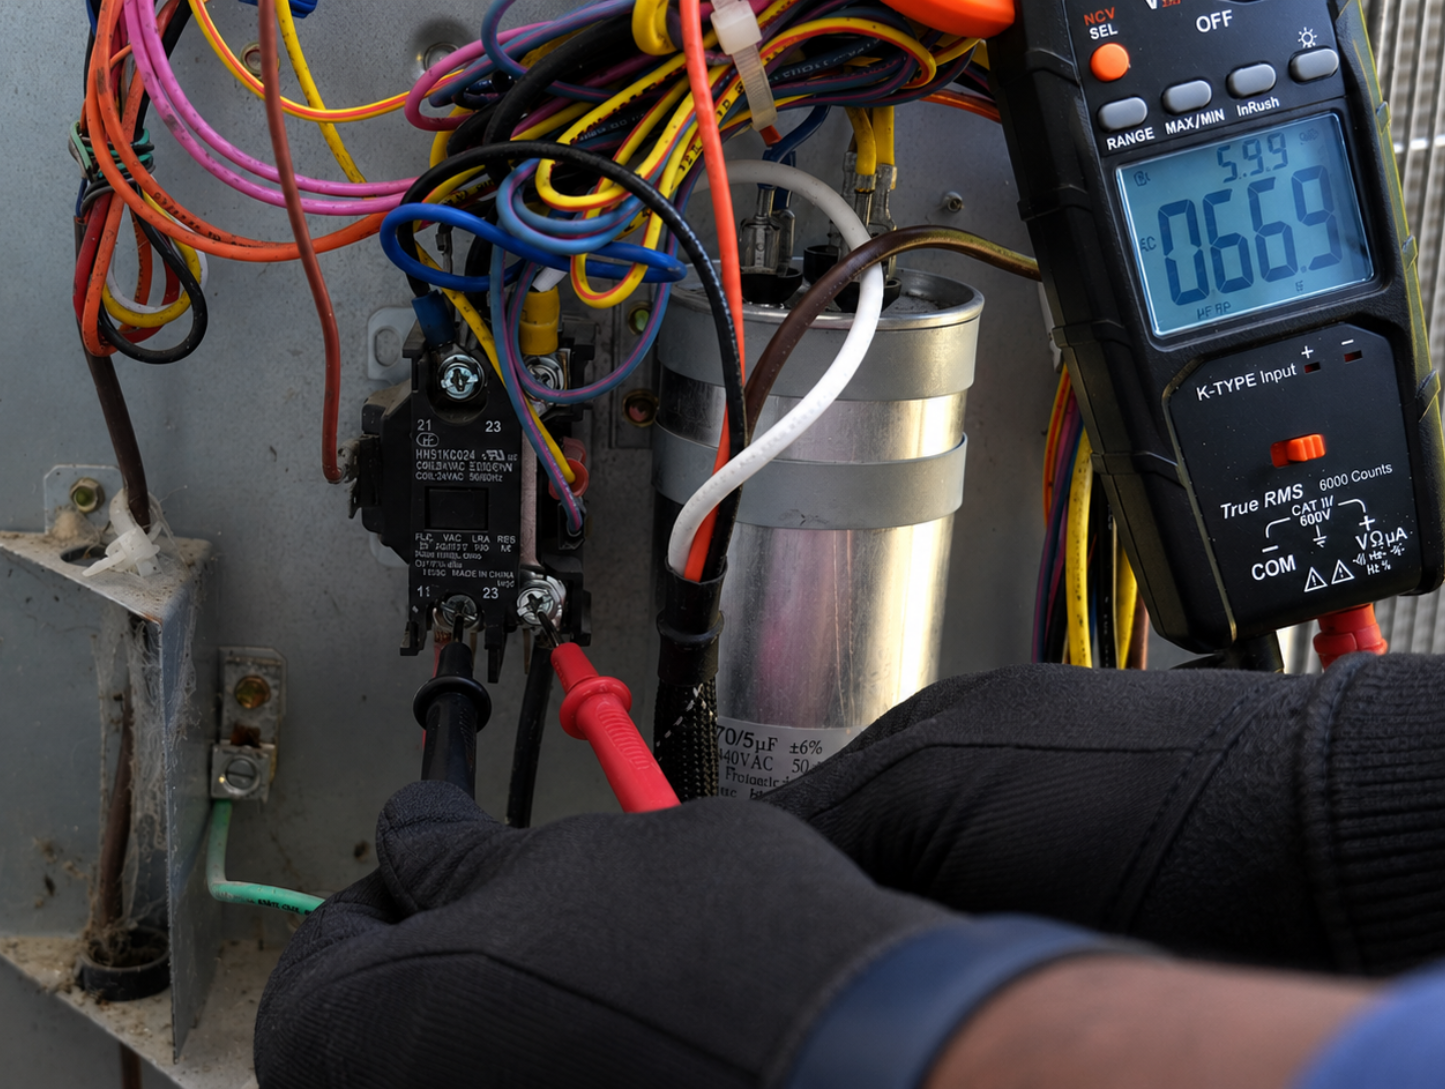
Confirm the power is actually off
A non-contact voltage tester on the wires leading to the capacitor is the safest way to check without a meter.
4
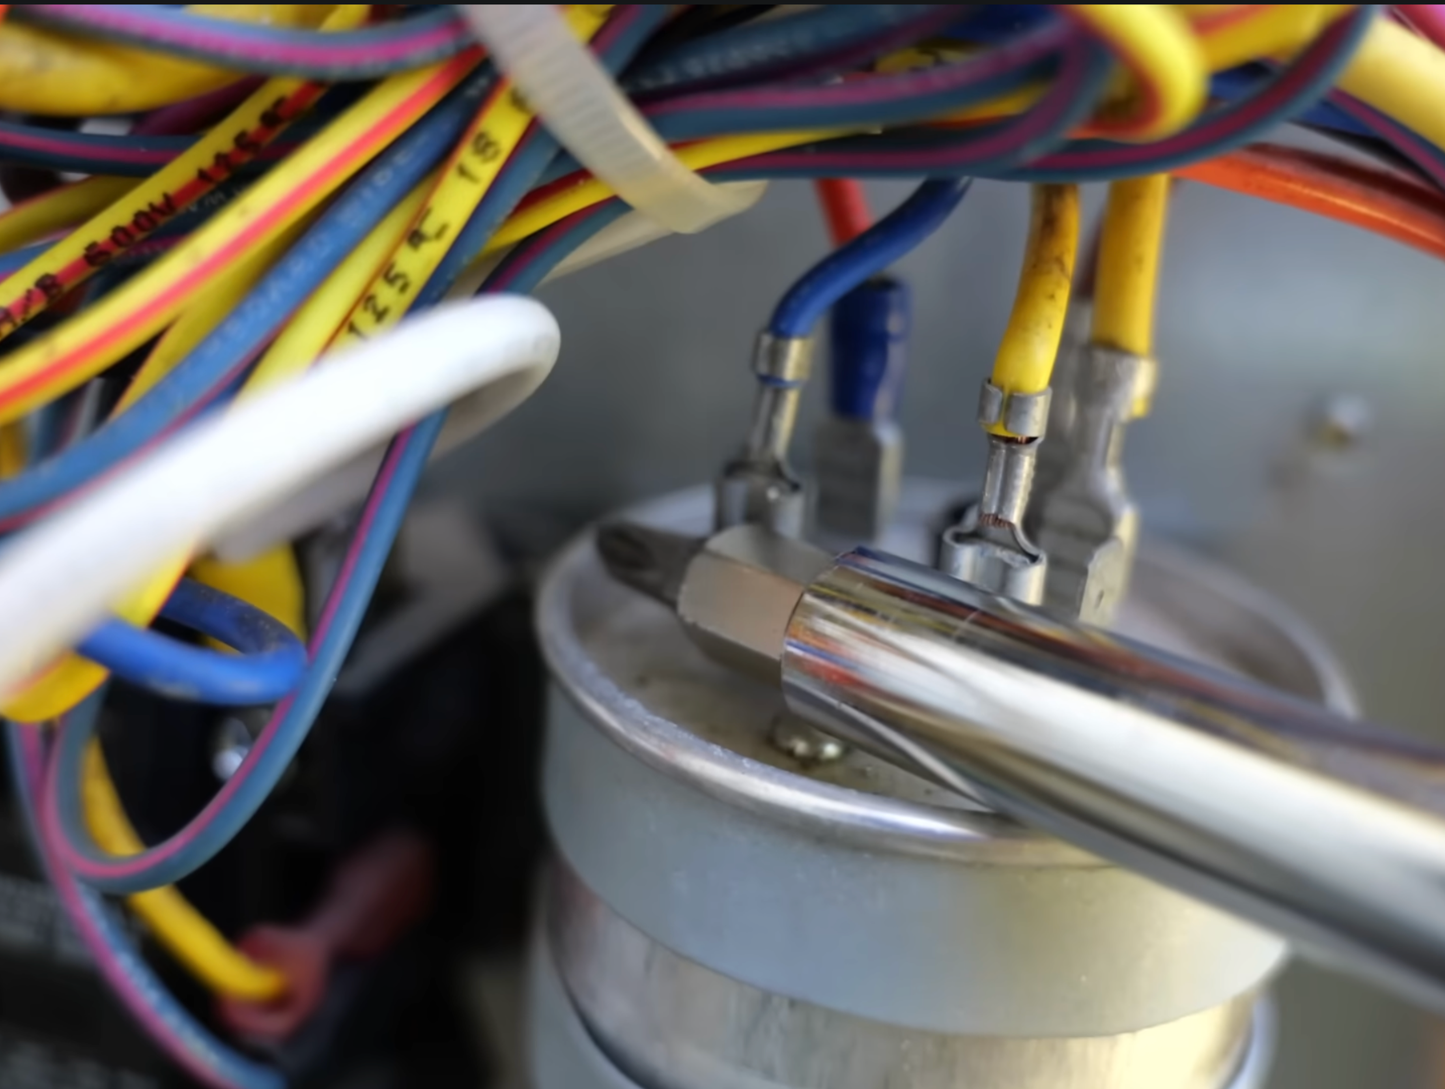
Discharge the capacitor
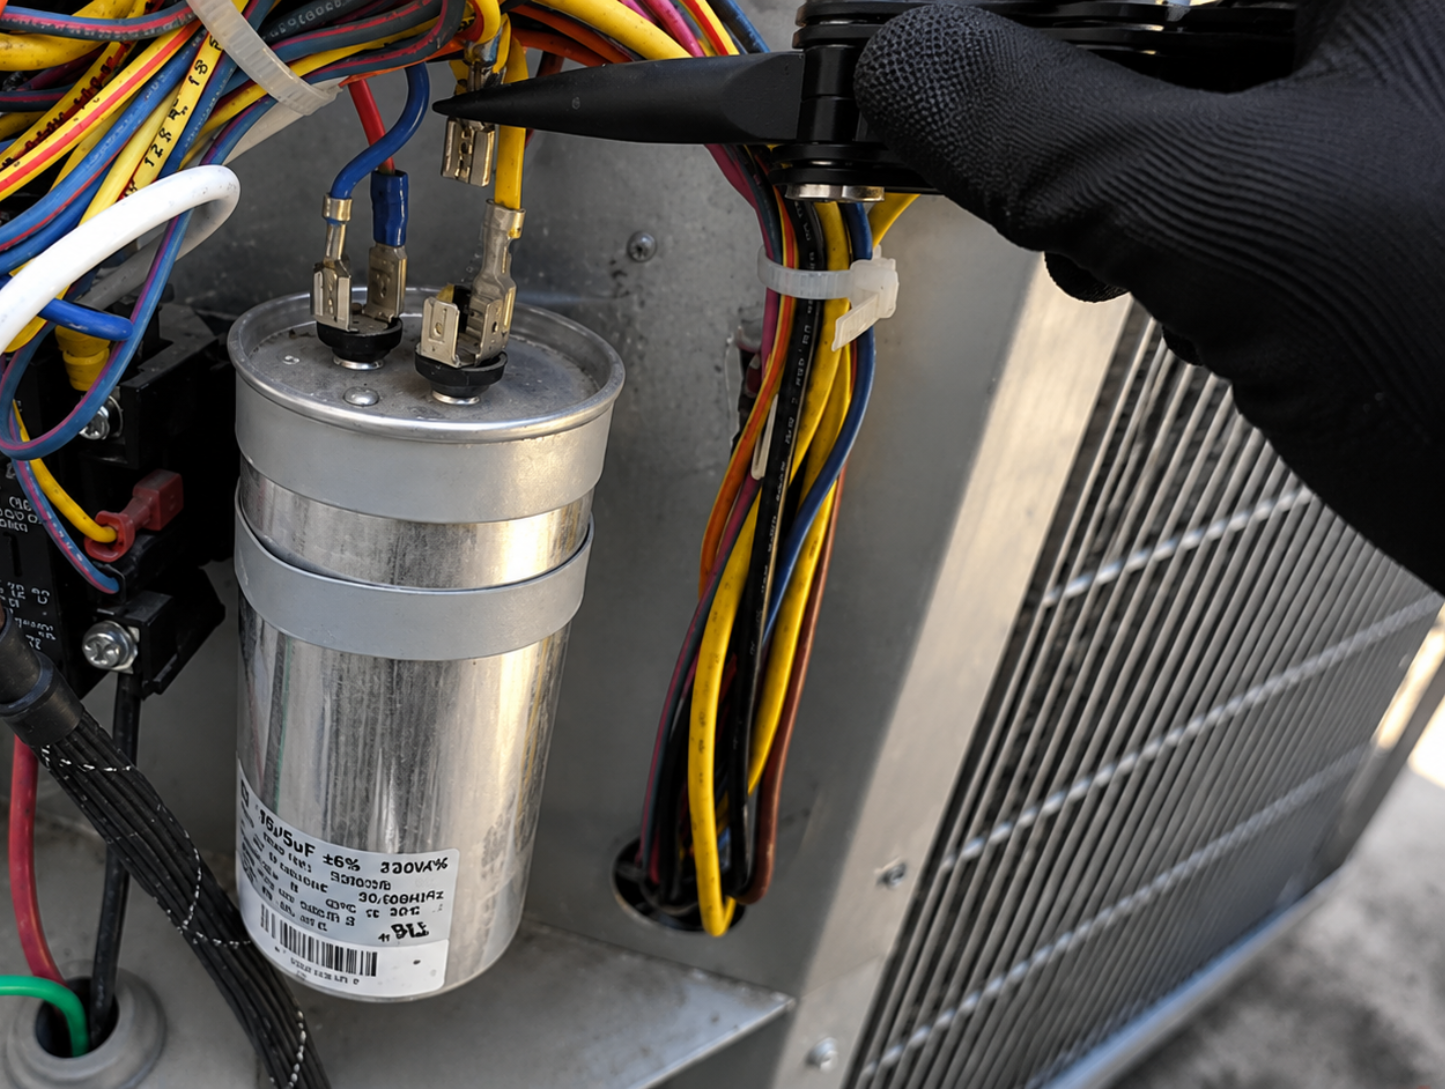
Using an insulated screwdriver, touch the shaft across both sets of terminals at the same time.
5
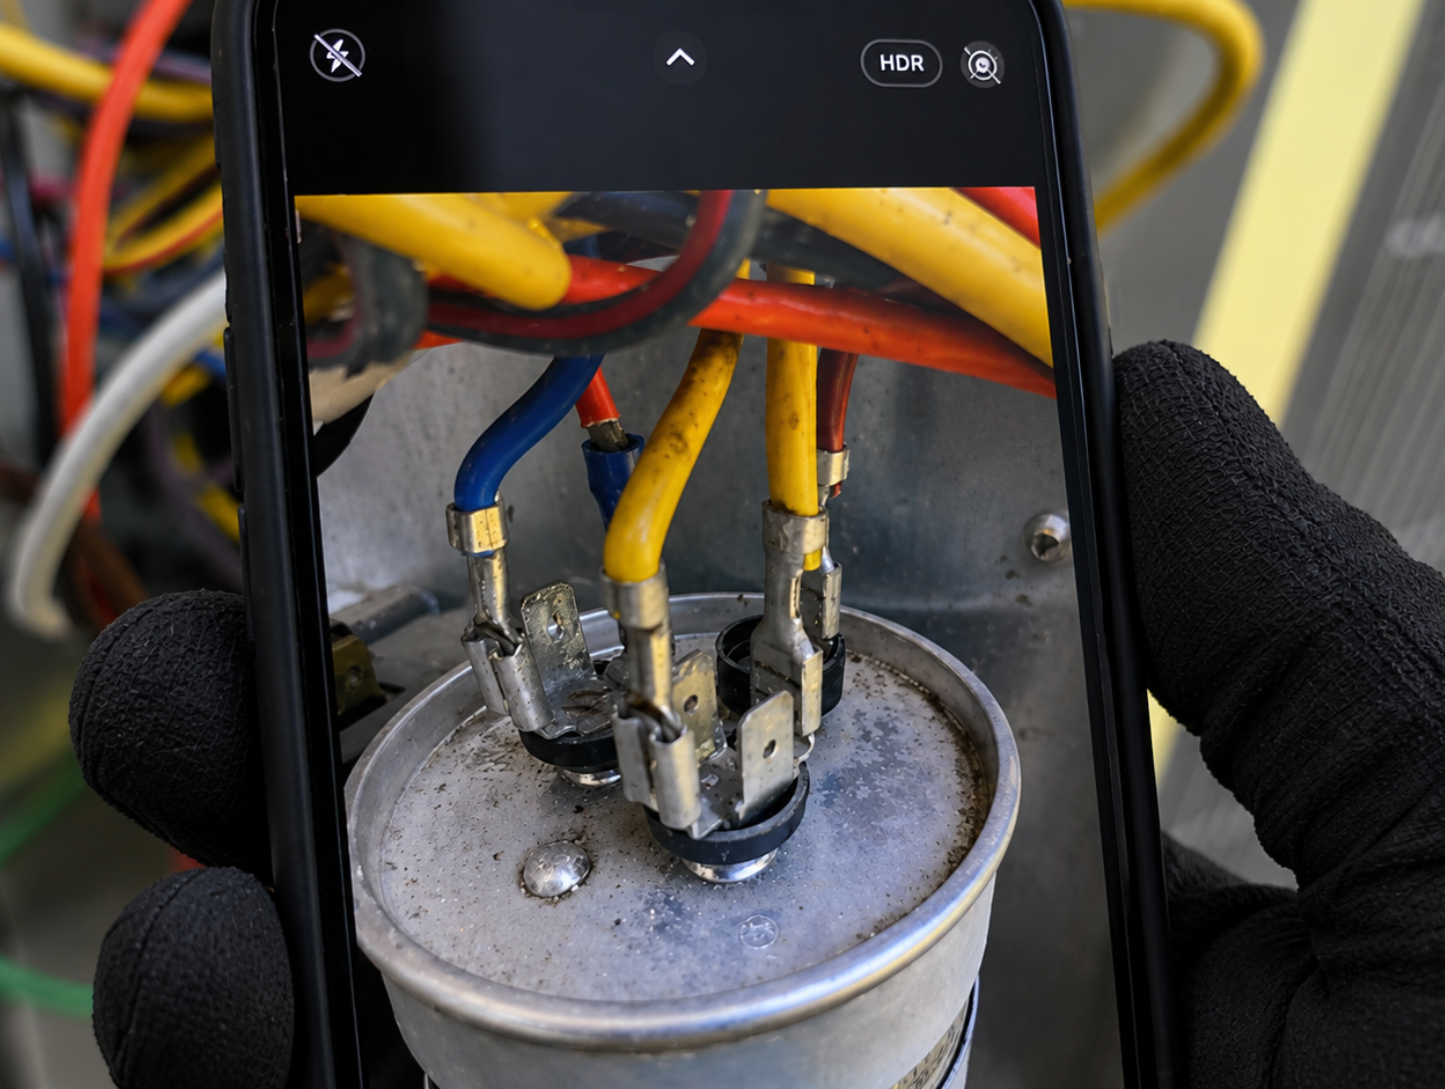
Photograph the wiring before you remove anything
6
Move the wires one at a time
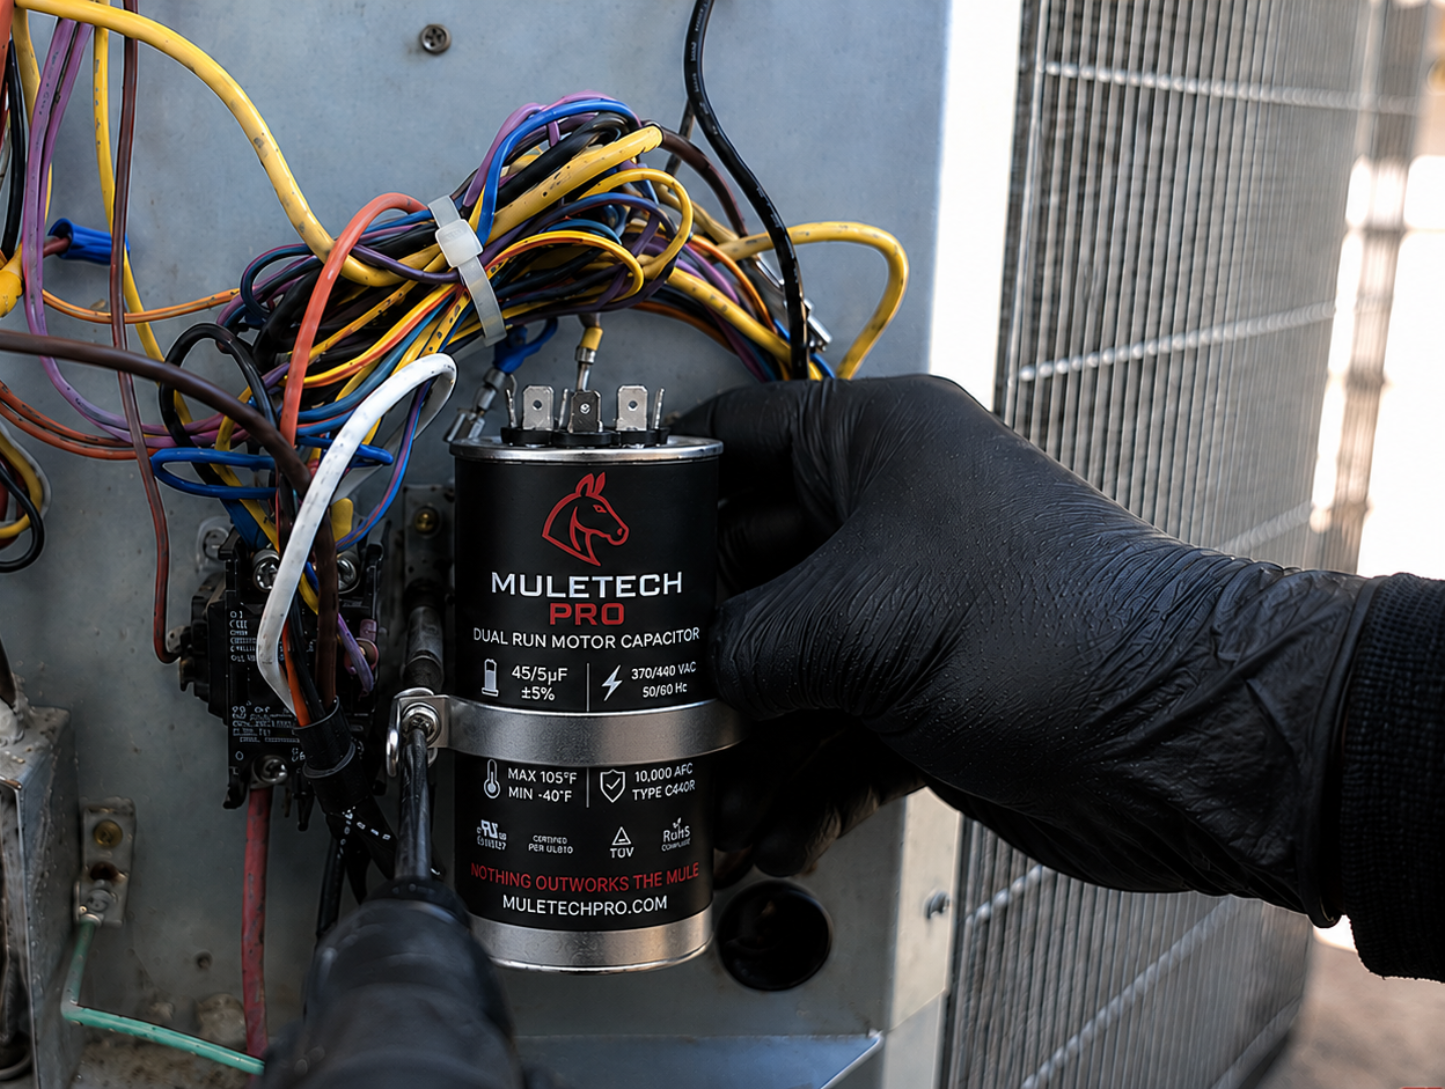
Remove a wire from the old capacitor and attach it to the matching terminal (C, HERM, or FAN) on the new one before moving to the next wire.
7
Mount the new capacitor and close up the unit
Secure it in the bracket, then replace the access panel.
8
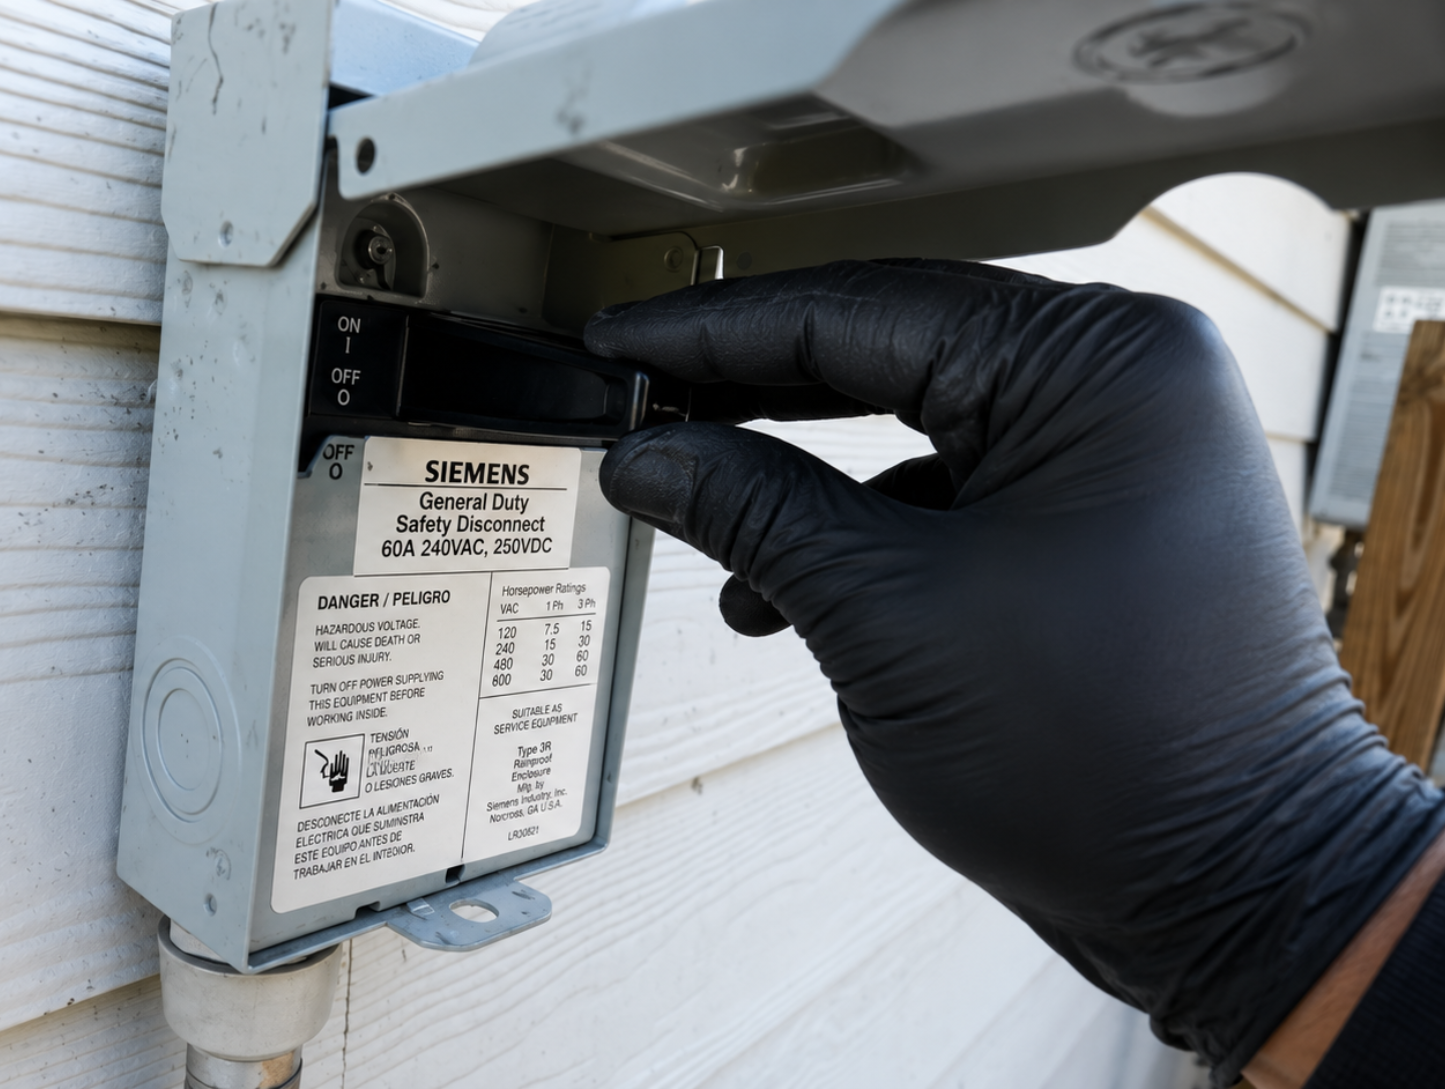
Restore power
Reinsert the disconnect or plug the unit back in.
9
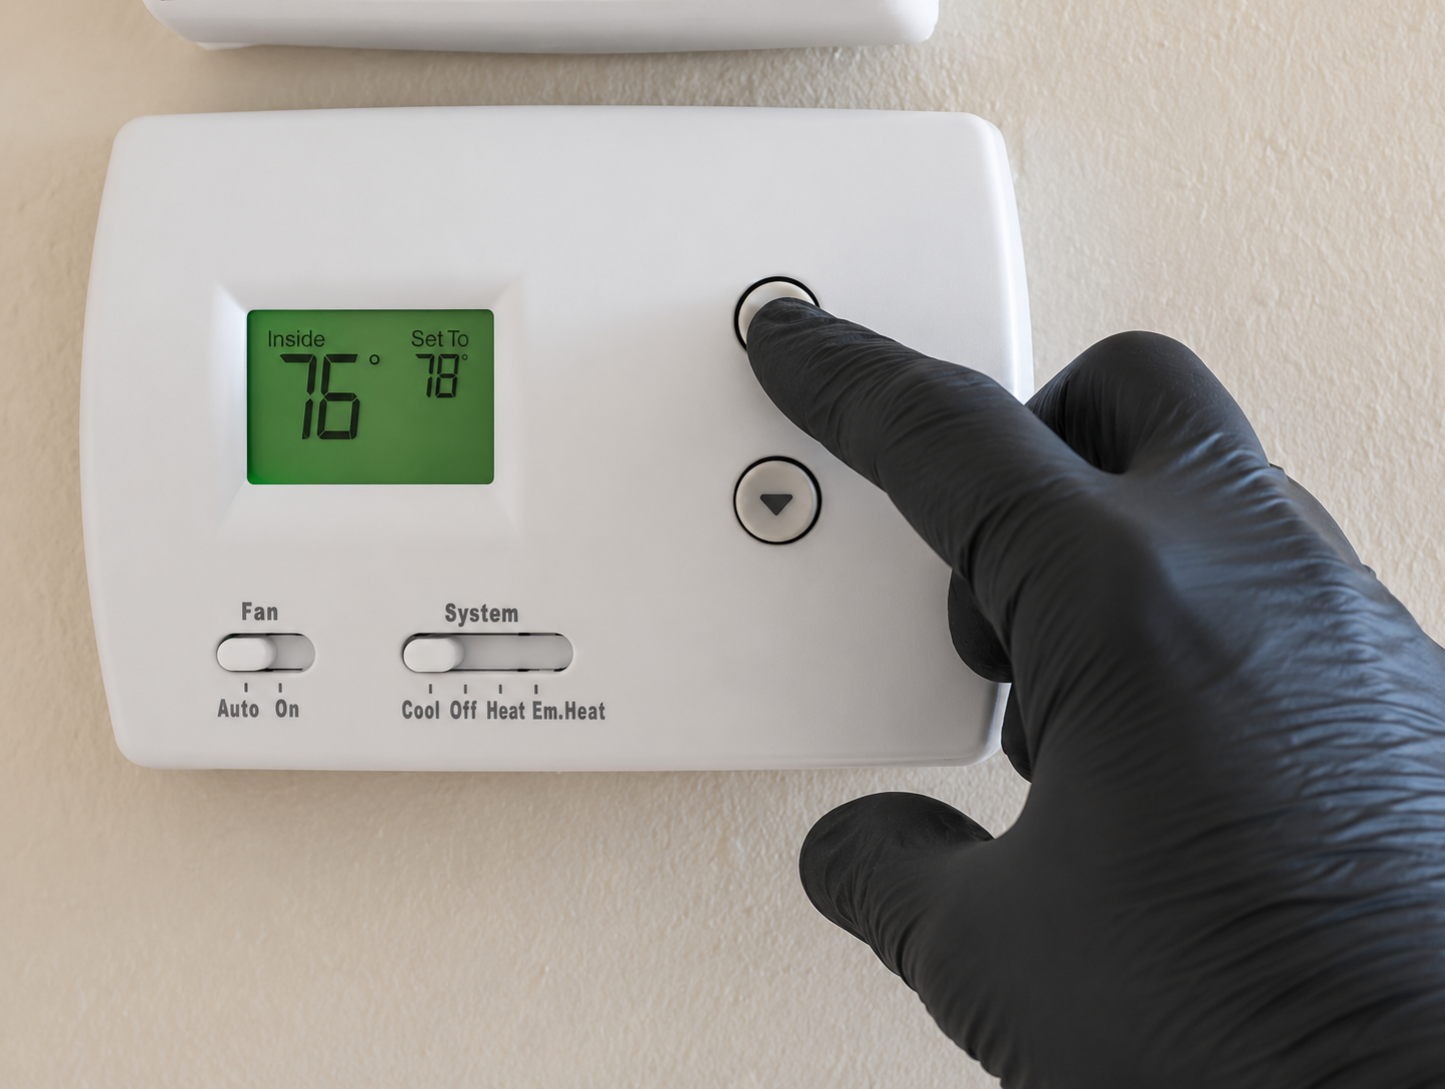
Test it
Set the thermostat to COOL and give the unit a full 5 minutes to engage.
If the system starts and cool air begins flowing, your installation is complete.

10
Register your warranty
Installed and running? Tap below to lock in your coverage.